13 Sep How Reverb Works: A Quick Guide
what to expect?
Reverb is one of the most commonly used effects in music production. Because in some genres more reverb is used than in others, it is essential to understand this effect in general to be able to add it to your tracks effectively.
In this article, I want to explain this topic to you and will give you some useful tips about how to use it properly.
Table of contents
What is reverb?
When you want to benefit from the advantages of this awesome VST – you should probably ask yourself first: What does reverb sound like and how does it work?
It basically creates the effect when you hear a slightly delayed signal that is based on the size and the acoustic behavior of a room. It is created when the acoustic signals of sounds are reflected by the surfaces of objects in a room (e.g. walls, furniture, etc.).
A producer would commonly use it in the mixing stage of his tracks to create some depth and give its sounds a space to exist in.
Usually, even a little bit of reverb is needed for most of the instruments to make it sound more natural in space.
REVERB VS DELAY
As said before, reverb plugins try to emulate the behavior of the acoustic reflections in a room.
The thing is that a delay plugin basically does the same, so it is important to understand the difference between those two effect types, in order to know how to use them in the right way.
While Delay plugins try to emulate an environment, where you would typically hear a certain sound from a very long distance, reverb plugins usually tend to emulate the acoustic behavior of much smaller rooms – If you want to move some sound more in the background of your mix, you would probably go best by using a delay plugin, and if you want it more in the foreground, use a reverb.
But there are really no creative limitations. It really depends on which material you are working with.
With that being said, let’s have a look at the different types of reverb VSTs:
DIFFERENT REVERB TYPES
There exist several ways to emulate the sound reflections of a room including the usage of springs, plates, and digital processing.
The sound of these methods has individual characteristics and is able to produce a very unique sound on its own.
In the following section, I want to give you an overview of the most commonly used reverb types in music production:
CHAMBER REVERB
Chamber reverbs were the first effects that used the acoustic phenomenon of audio reflection in a physical space. The sound engineer who uses this effect would usually play a sound through a loudspeaker and pick it up with a microphone to catch the vibe of a unique physical environment.
Although this technique sounds very natural and is still used by some audio engineers, it is pretty complex to create because it requires a dedicated soundproofed room, and varying the different parameters is difficult.
Thanks to modern music technology, there exist some great VSTs that are able to create the characteristics of a real chamber reverb with the help of digital audio processing.
PLATE REVERB
Plate reverb effects are mechanical systems that mimic the illusion of a reflected audio signal with the help of an electromechanical transducer that creates vibrations in a large plate of sheet metal.
The plate’s motion is picked up by several microphones whose output is an audio signal that may be added to the original “dry” signal.
In the physical world, you would normally adjust the reverb time with a damping pad made from acoustic titles. This mechanical method of creating a reverb effect gives you, in comparison to the chamber reverb, much more control over your overall settings and produces a unique sound that has been used for many hit records for artists like the Beatles or Pink Floyd.
SPRING REVERB
Spring reverberation is another mechanical way to produce a smooth reverb effect. These systems use a transducer at one end of a spring and a pickup at the other, similar to those in plate reverbs, to capture the individual vibrations within a metal spring.
They were widely used in semi-professional recording studios and are frequently incorporated into guitar amplifiers due to their modest cost and small size.
One big advantage when using this kind of reverb is that they can produce various special effects by using the implemented spring in a creative way.
For example you could rock them back and forth to create a thundering kinda sound or let the springs collide to generate a crashing sound, etc.
DIGITAL REVERB
Digital reverberation is created by various signal-processing algorithms. Since this effect is caused by a very large number of echoes, simple algorithms use several delay circuits to a large decaying series of echoes.
Advanced digital reverb generators are able to simulate the time and frequency domain response of a specific room with the help of different parameters.
CONVOLUTION REVERB
The last reverb type in this list is the convolution reverb effect. The reverberation of them is created by a process that digitally simulates the reverberation of a physical or virtual space through the use of software profiles.
This software (or algorithm) is able to create a simulation of an audio environment.
It uses a pre-recorded audio sample of the space being modeled and then generates an authentic reverb sound with the help of the theory of mathematical convolution operation.
REVERB PARAMETERS EXPLAINED
After we understood the reverb effect in general and had a look at how different reverb effects work and sound like, we need to have a look at the different parameters in general.
Because there are so many plugins on the market, that can give you additional options for manipulating your sound, I will give you an overview of the parameters of one of the most basic reverb effects, so you will get an overall understanding of it.
These parameters are used by lots of different plugin manufacturers and the usage of those can be applied to lots of other VSTs as well.
The virtual effect I chose for this topic is the Fruity Reverb 2, which is a stock plugin inside of the DAW FlStudio.
Fruity Reverb 2: Parameters explained
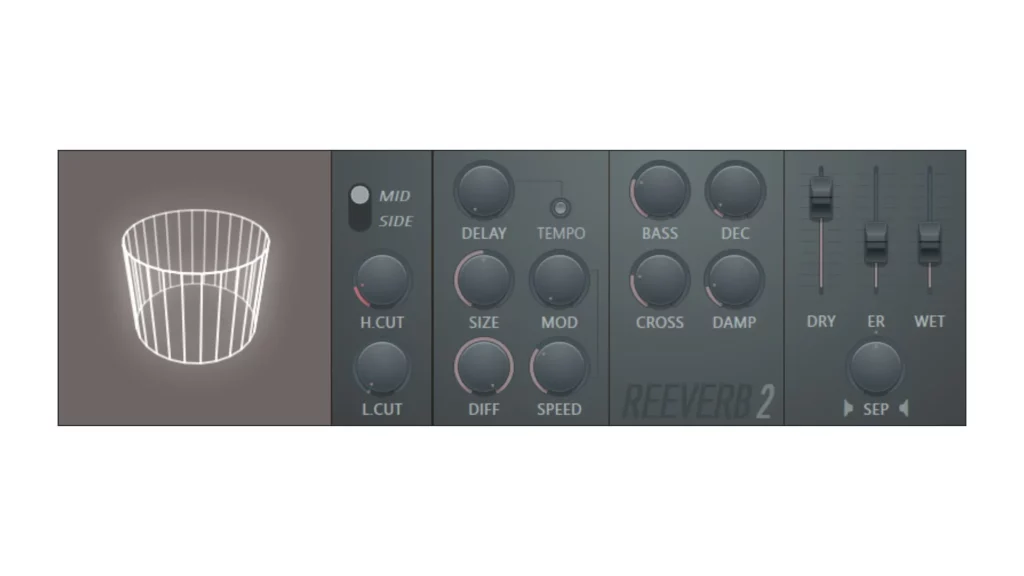
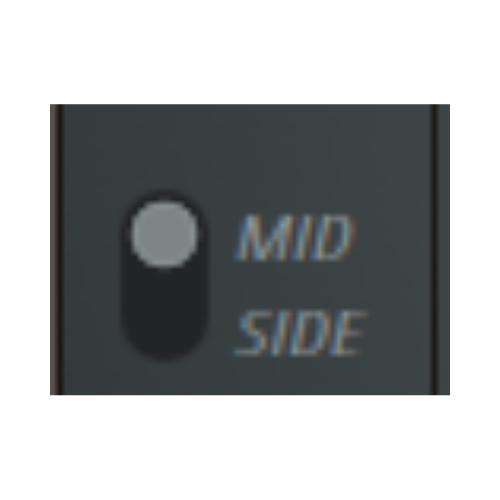
mid/SIDE

high cut
By turning this parameter, you are able to remove some high frequencies from your reverb sound. You can use it to create some space in your mix or make your room sound “duller”.*

Low Cut
Removes the low frequencies of your reverb. This can be used to add some clarity to your sound by reducing the “rumble“ and muddiness from sounds that have lots of low end. (e.g. bassdrum, synthesizer, bassline…)*
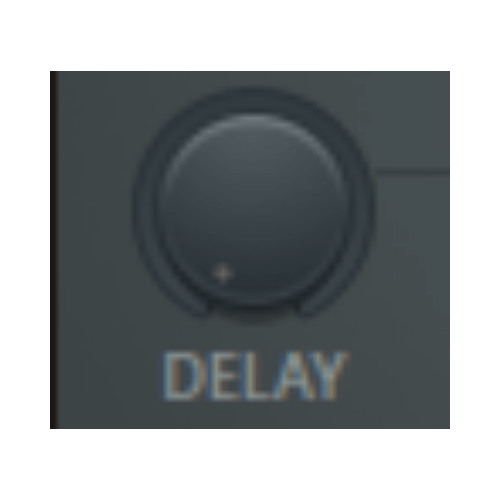
Predelay
This parameter determines how much there is a gap between the dry signal and hearing the reverb. You could use the included TEMPO switch that selects ‘tempo based’ predelay. This effect should be set to modest values for small rooms, and can be increased to suit the room size.*
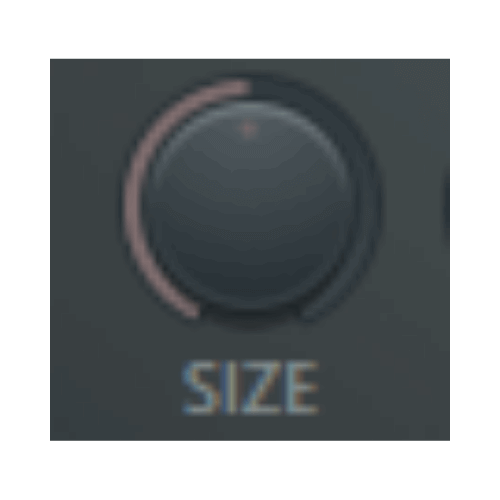
Room Size
Using this knob, you are able to set the size of the virtual room that is being simulated. If you want to create some realistic effects, you should always adjust this parameter according to the decay time. Small rooms sound better with short and large rooms with a longer decay time.*
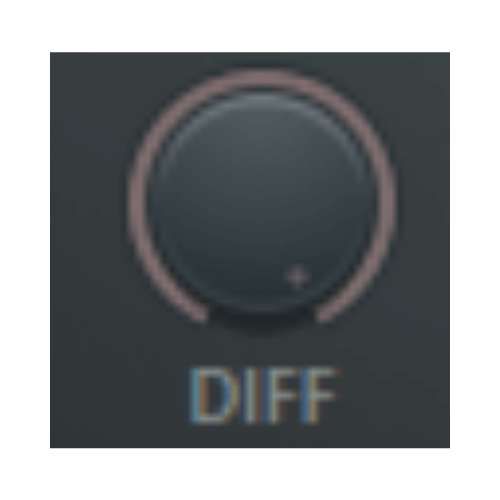
Diffusion
Controls the density of the reflections created by the walls of the virtual room. The smaller your diffusion time is set, the more it will sound like a closely spaced echo. When using a high diffusion setting, the reverb will sound more like a constant decaying noise.*
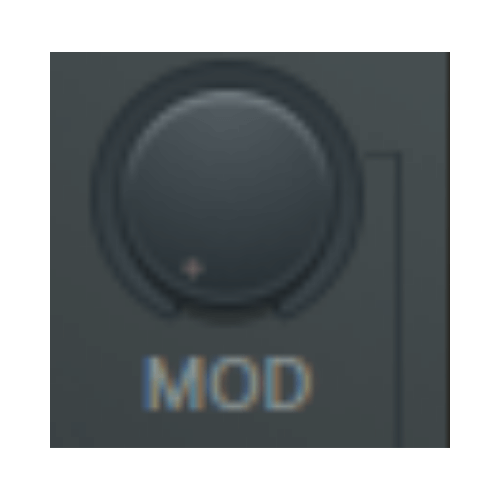
Modulation
Is used to modulate the reverb time to break up unwanted noises that are associated with artificial reverb plugins. Small values can make the reverb sound smoother and natural. Tweaking this parameter in an extreme way could add a detuned sound to your reverb.*

MOD Speed
Is used to define the speed of the sine-wave that affects the modulation of the reverb time.*

Bass Multiplier
Changes the decay time of low frequencies. This has an effect on the overall “mood” of the virtual room – While a bright room usually has less bass response, a warm one tends to have more.*

Bass Crossover
Defines the point below which bass frequencies will be boosted by the Bass knob.*
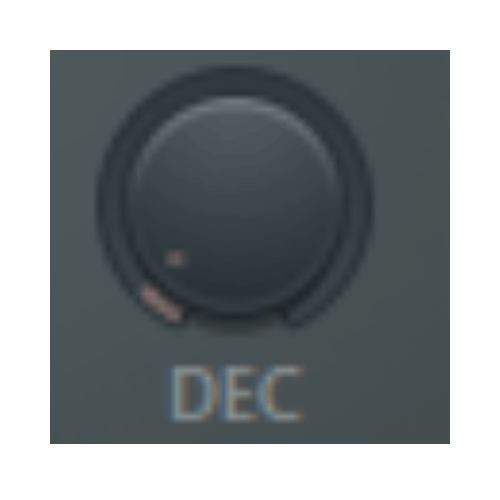
Decay
Defines the length of time it takes the reverb to decay down to -60 dB (1/1000 of the maximum amplitude).*
High Damping
High damping is very similar to the high cut control but is dealing with slightly different frequencies and algorithms. It is used to make the reverb effect sound gradually muffled and warmer.*

Dry Level
Sets the overall level of the incoming signal that the reverb affects. When you are using your reverb on a send track, the amount of this parameter is usually turned down to 0.*
Early Reflection
Sets the relative level of the first reflections in the reverb.*
Wet Level
Defines the level of how much the reverb effect affects your dry signal. When using it on a send track, you would usually turn this parameter up to 100%.*
Stereo Separation
You can tweak this parameter in order to get some more or less stereo width to your wet reverb signal.*
Source: https://www.image-line.com/fl-studio-learning/fl-studio-online-manual/html/plugins/Fruity%20Reeverb%202.html
How To Add Reverb To Audio Effectively
When added effectively, reverb can improve your mixes a lot! After we have understood this effect and the most basic parameters, I want to give you some useful tips that may help you to use your reverb VST of choice as efficiently as possible.
- Reverb adds some depth to your mix by creating a virtual room for your sounds to exist in. To keep your mix natural and organized, I would recommend you use only a few Reverb VSTs (max, 2-3 different Plugins) to keep your sound more natural.
- Use the reverb of your choice on a send track. This’ll help you to save some valuable CPU and will also help you to get more control over how it affects your routed Sounds.
- When using reverb on a send track, I would always recommend you EQ your wet signal, so your mixer will sound clearer.
- Less is more! When we like the sound of a certain VST, we usually tend to overuse it. From my personal experience, I can tell you that you will probably go best by adding these effects more carefully. In my case, I usually tend to mix a wet reverb signal not over 20%.
- Adding some distortion or saturation to your wet reverb signal can help it to stand out more and could create an interesting sound.
- Adding some distortion or saturation to your wet reverb signal can help it to stand out more and could create some interesting sound.
- Automating different parameters of your reverb VST can help you to match the settings to the context and intensity of your track.
- Pan your reverbs for more stereo width. Panning individual sounds can help to make your songs sound more interesting and improve the stereo width of your track, but have you ever thought about panning your reverb? You could for example use a panning modulation tool to create an interesting stereo effect for your reverb. Definitely worth trying out!
- Control the stereo width of your reverb. Besides panning, you could also add some stereo width to your reverb, by using different stereo imaging VSTs, this’ll help you to make your mix sound more interesting. But as always: Don’t overdo it! I would recommend you always check the mono compatibility of your mix, to check if there occur any issues within your stereo image.
- Know your plugins! If you do buy or download a new reverb plugin, make sure to learn how each parameter affects your sound, in order to be able to use it to its full potential. Knowing a stock plugin well is way better, than using a pro plugin, that you don’t even understand.
conclusion
Using the reverb VST is an essential way to add some depth to your mixes. Throughout this article, we have learned how this effect works in general, had a look at different types of reverberation, and understood its basic parameters. I hope that the included tips will be useful for you!
No Comments